


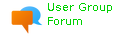

If no project is currently open in IntelliJ IDEA, click Import Project on the
Welcome screen. Otherwise, select File > Import Project
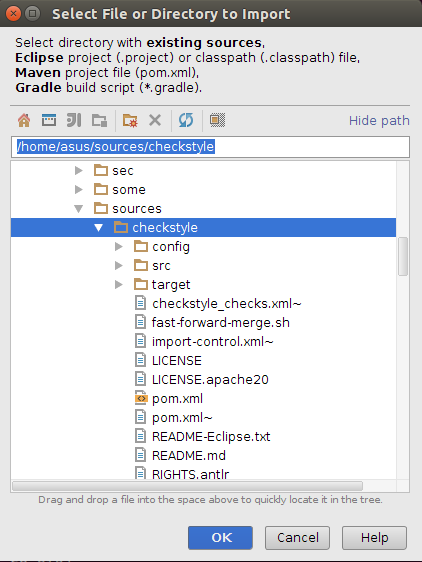
Then Next > Next > ... Until Finish.
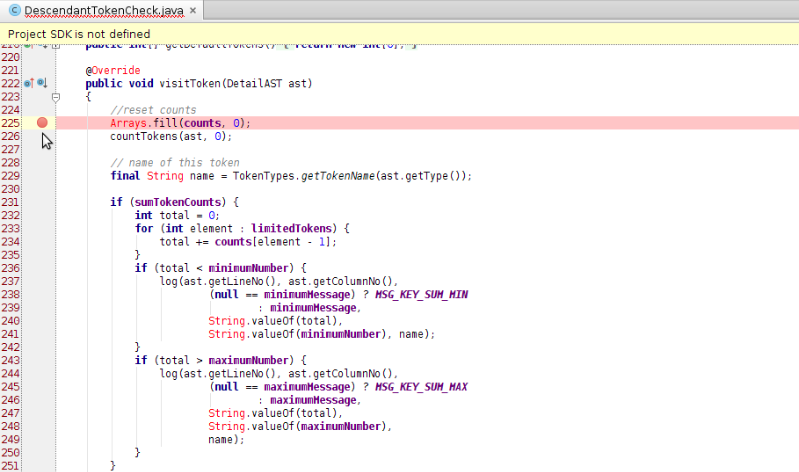
Open the Check's source file by double click on it in a source tree as is shown:

Debug the Check by putting the breakpoint at controversial place (double-click)
on the left part of line number as it is shown:
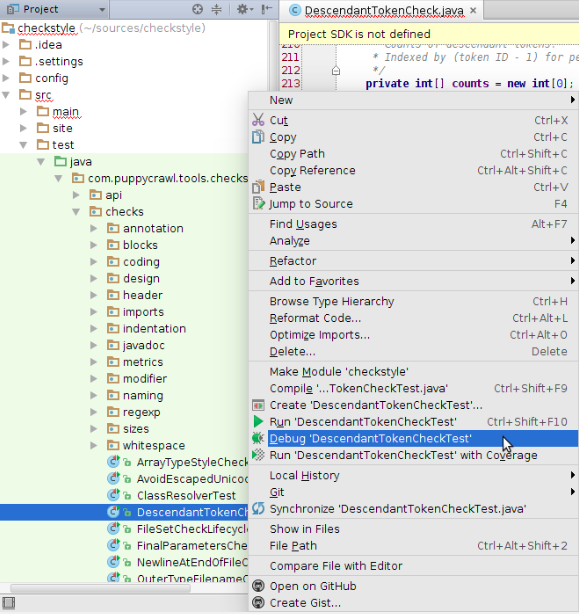
Then right-click the corresponding Unit-test file or class definition > Debug
"testName"
Then manage you debug operations F8 (Step Over), Shift+F8 (Step Out),
F7 (Step Into), Alt+F9 (Run to Cursor)
One of the Checkstyle checks we run on our own code require certain order of import
statements. Few changes in IDE settings are required to help your IDE do it automatically.
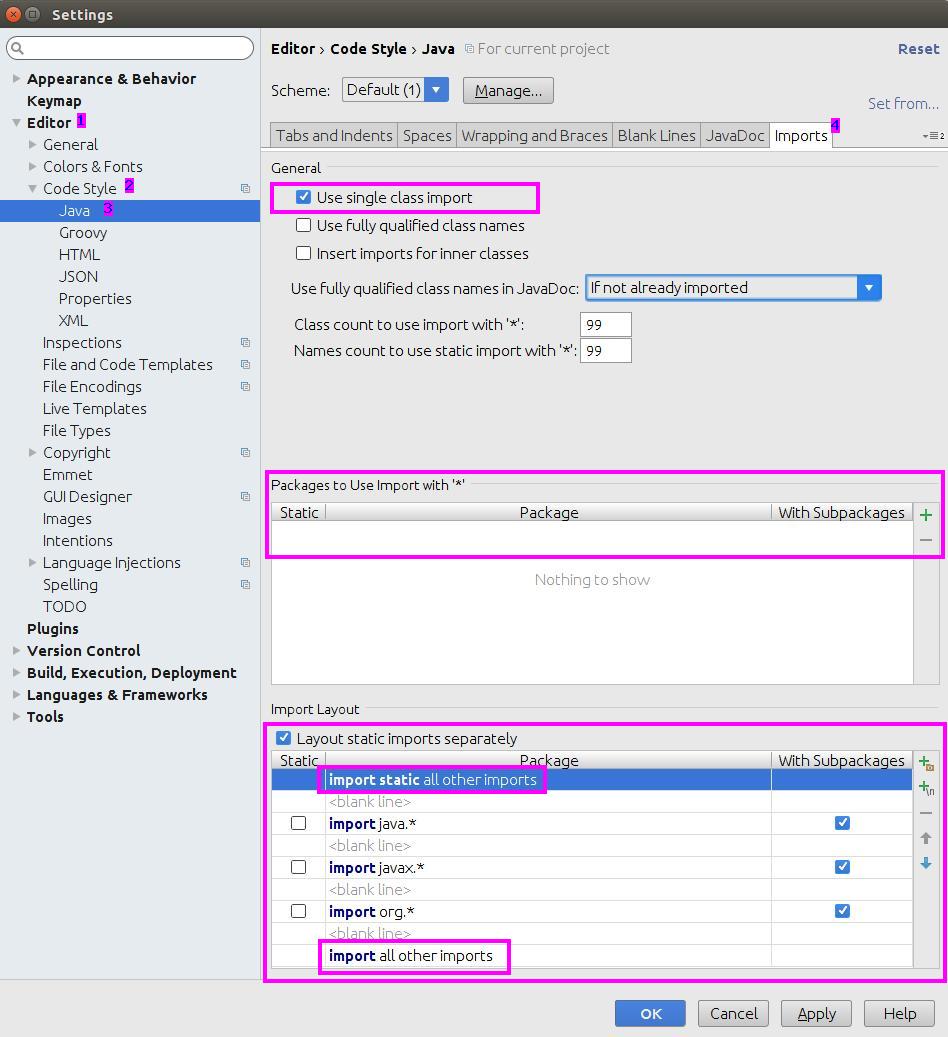
To change formatter settings please go to File->Settings in menu.
Then in the tree go to: Editor->Code Style->Java, open Import tab (follow numbers on a
picture) and apply settings highlighted:
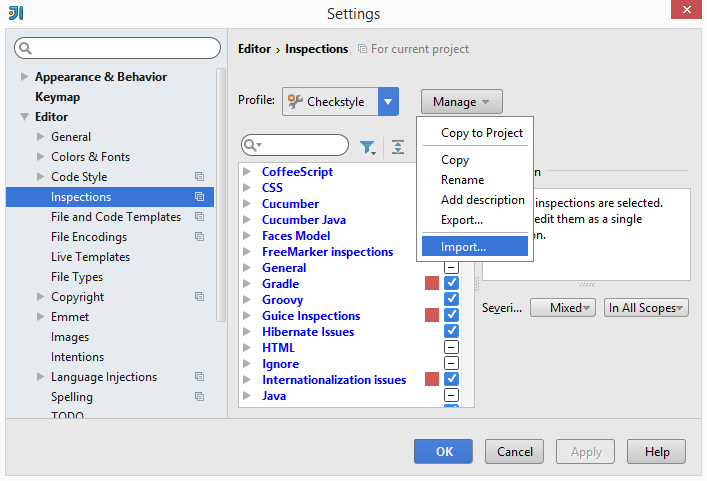
Checkstyle has its own very strict set of inspections. To import and enable them go to
Settings -> Editor -> Inspections -> Manage -> Import... and locate file
config/intellij-idea-inspections.xml.
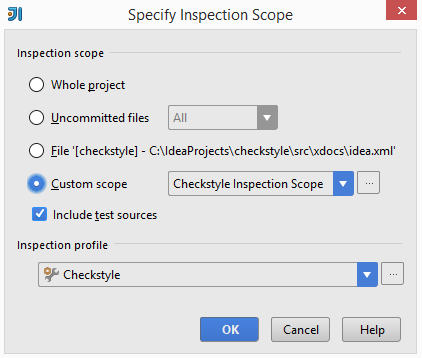
Not all files in repository should be analyzed. For example test input files contain numerous
violations on purpose. Our shared inspection scope can be used to exclude such files.
To add custom scope copy file config/intellij-idea-inspection-scope.xml
to .idea/scopes directory. Now it should be ready to use in inspect code window: